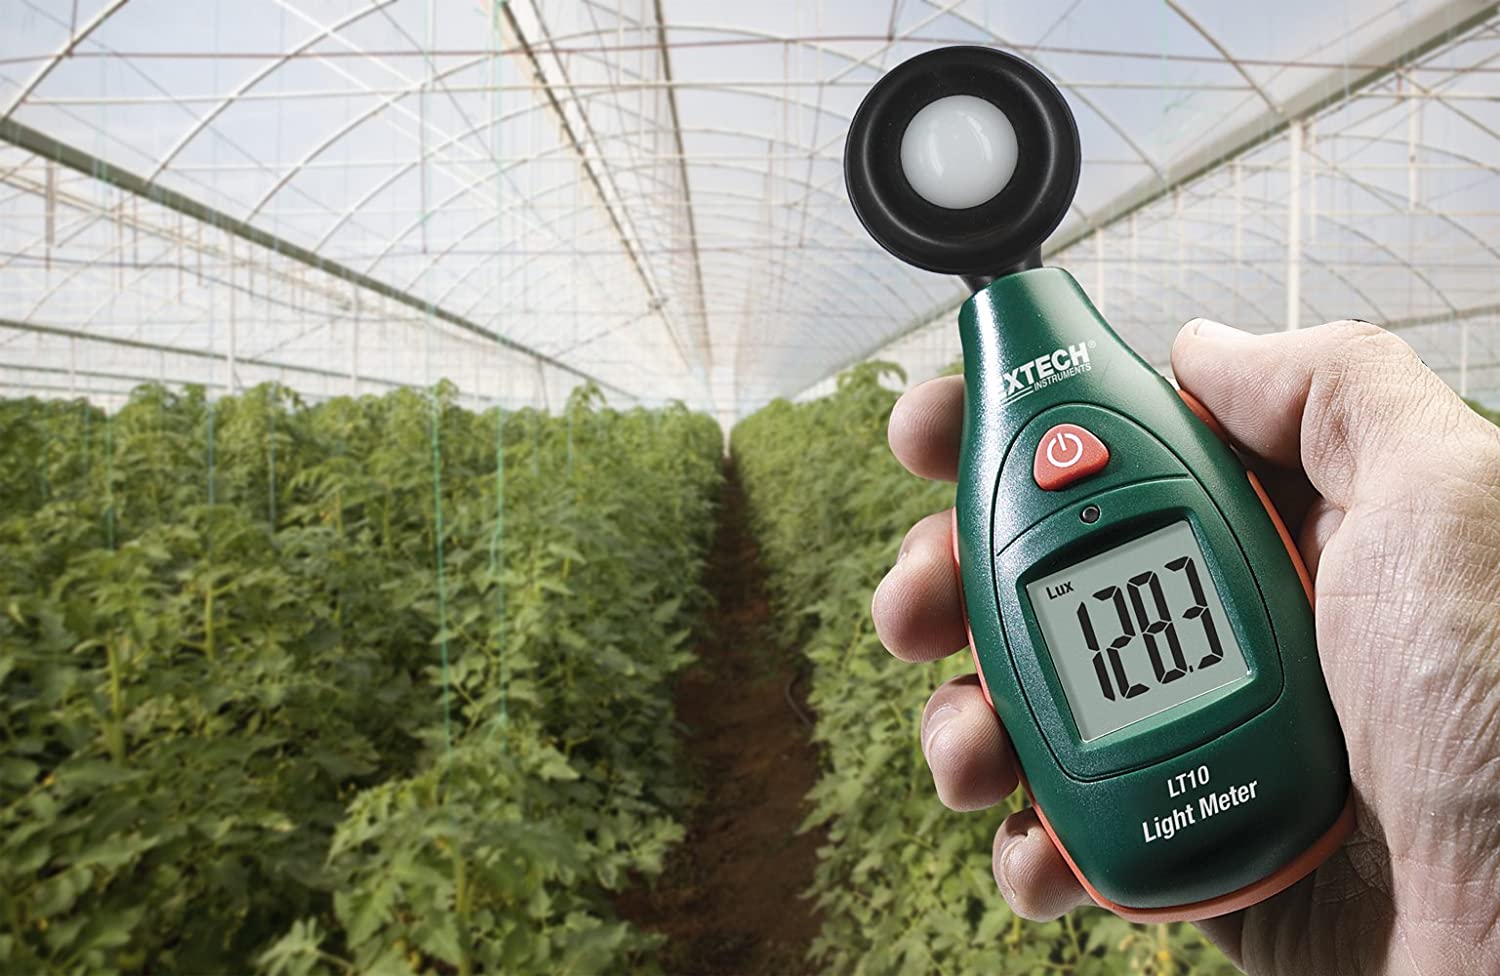
A light meter measures the amount or intensity of light in a particular environment, person or object. The obvious application of light meters that immediately comes to mind is photography, where lighting is everything.
But it’s not just photographers and filmmakers that need light meters. Many workplaces have to make sure there is sufficient lighting to meet work and safety standards. The safety officer can use a light meter to make sure the work areas are bright enough.
Museums, art galleries and other public venues may also want to check lighting levels in particular areas of interest using a light meter. Lamp manufacturers, particularly LED, also use professional light meters to calibrate the intensity of their lamps.
A light meter is simple to operate. You don’t need any training or experience to operate a basic light meter.
Here’s a quick guide on how to use a light meter and interpret the results for different situations.
Check the Type of Light Meter You Have

The type of light meter you have determines how you use it.
The most common type of meter used by professionals is an incident light meter. It measures the light falling on a person, object or area. It’s the most accurate type of light meter especially in sensitive applications like photography.
Reflected light meters measure the light reflected from a person or object. Many professionals don’t like using these types of meters because the amount of reflected light is greatly affected by the tone and colour of the subject.
Most likely, the light meter you are using is an incident light meter. Reflected light meters are found almost exclusively in cameras.
Measuring the Amount of Light in an Area
It takes just a couple of seconds to measure how much light is falling on an object or area. Say you want to check how bright a work desk is. Place the meter on the desk with the sensor dome facing upwards. Check the display for results.
Press hold to freeze the reading on the screen.
If you want to check the overall brightness of a room, take several readings from different areas then use the min/max button to see the lowest and highest readings. Or press the peak hold button to record and freeze the highest reading.
If you want to see how much light is falling on a specific object like a houseplant, place the light meter right in front of the plant with the sensor facing outwards.
Taking Light Measurements for Photography
With an incident light meter, you walk up to the person or object you are photographing and hold the meter in front of it with the light-collecting dome facing towards the camera. The display will automatically indicate light intensity in LUX or foot-candles. Most light meters allow you to switch between units.
If you are photographing a scene, rather than a particular subject, hold the meter a distance in front of the camera with the photo-sensing dome facing the camera.
With a reflected light meter, you simply point the light meter towards the scene, object or person you want to photograph. This measures the light reflected from the subject.
Most photography light meters come with advanced control panel functions like hold, peak hold, max/min, memory and average.
The display is also more advanced than that of a basic light meter. In addition to light intensity, the display will also tell you what shutter speed to use. Make sure you set the ISO to the same ISO of your camera. You can adjust aperture (F-stop) on the light meter and it’ll re-calculate the ideal shutter speed for different light intensities.
Additional Tips for Using a Photography Light Meter
- In scenes with high contrast (e.g. bright areas and shadows), measure light intensity in multiple locations then get an average of all readings to get the best exposure. Some photography light meters come with memory and average functions to make this easier.
- Do not expose the photo-sensing dome to direct sunlight, as it can lead to overexposing your photos. Take readings from a shadow instead, ensuring the darker areas of the photo come out in good detail in the photo.
- If you have a basic light meter that lacks shutter speed, aperture and ISO settings, you can still calculate the right shutter speed using LUX measurements. There are charts you can use to identify the best exposure for a particular light level, light this one from PetaPixel.


